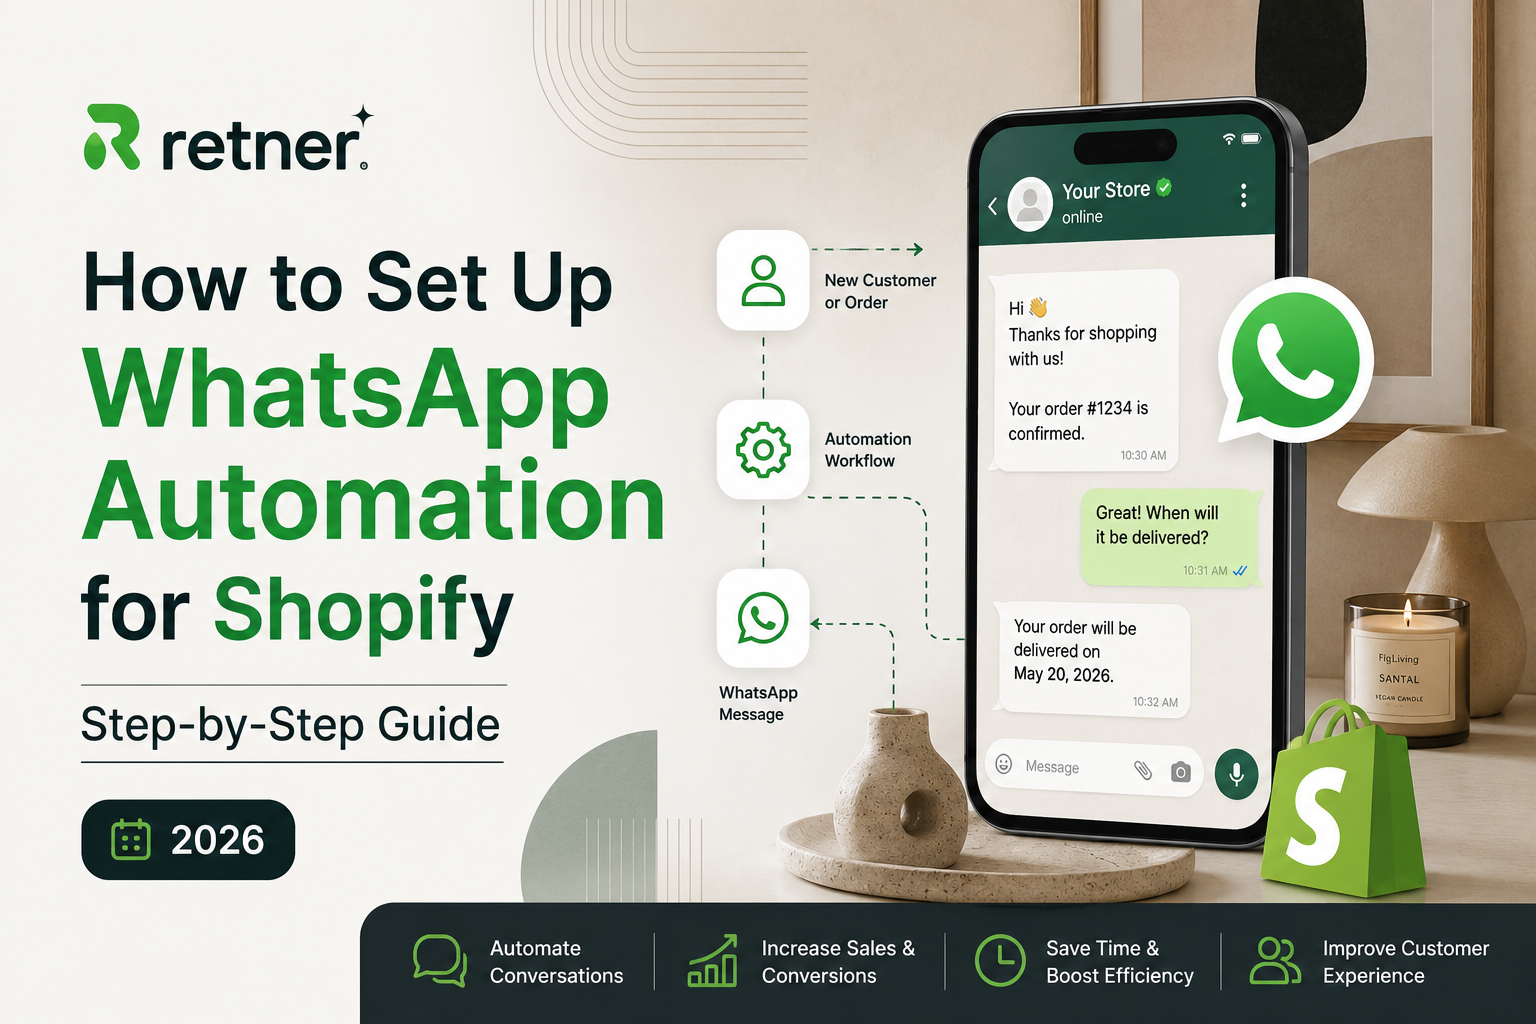
How to Set Up WhatsApp Automation for Shopify: Step-by-Step Guide (2026)
You've got a Shopify store. You're running ads, fulfilling orders, handling support queries — and somewhere in between, customers are abandoning carts, missing delivery updates, and not coming back for a second purchase.
The fix isn't more ads. It's better communication — and WhatsApp is the most powerful channel available to Shopify brands in India right now.
This guide walks you through exactly how to set up WhatsApp automation for your Shopify store: from getting API access to building flows that recover carts, confirm COD orders, send shipping updates, and bring customers back.
No fluff. Just the step-by-step.
What Is WhatsApp Automation for Shopify?
WhatsApp automation for Shopify means connecting your store's data — orders, customer behavior, abandoned carts, delivery status — to WhatsApp so that the right message goes to the right customer at the right time, automatically.
Instead of manually messaging customers or sending generic broadcasts, your store triggers personalized WhatsApp messages based on what a customer does (or doesn't do):
- Adds to cart but doesn't checkout → abandoned cart message
- Places a COD order → verification call/message
- Order ships → tracking update
- Hasn't reordered in 30 days → win-back message
Once set up, these flows run 24/7 in the background without your team lifting a finger.
Before You Start: What You'll Need
Before setting up WhatsApp automation, make sure you have these in place:
1. A verified WhatsApp Business API account The regular WhatsApp Business app doesn't support automation at scale. You need the API — accessed through an official WhatsApp Business Solution Provider (BSP) like Retner.
2. A Meta Business Manager account WhatsApp API is a Meta product. You'll need a verified Meta Business Manager to get approved.
3. A dedicated phone number for WhatsApp Business This number cannot be an existing personal WhatsApp number. Use a fresh SIM or a virtual number.
4. Your Shopify store admin access You'll be installing an app and connecting your store data to the WhatsApp platform.
5. Pre-approved message templates WhatsApp requires all outbound messages (outside of 24-hour reply windows) to use Meta-approved templates. Your BSP will help you create and submit these.
Step 1: Get WhatsApp Business API Access
You have two ways to get API access:
Option A: Through a BSP like Retner (recommended) A Business Solution Provider handles the entire API setup, Meta verification, and template approval process for you. You get a dashboard to manage flows, broadcasts, and analytics without touching any code.
This is the right path for 95% of Shopify brands — faster setup, built-in Shopify integration, and ongoing support.
Option B: Direct Meta Cloud API Meta now allows businesses to access the WhatsApp Cloud API directly. This is free in terms of platform fees but requires a developer to build and maintain the integration. Only practical if you have a tech team.
For most D2C brands, go with Option A.
Step 2: Verify Your Meta Business Manager
This is a one-time step but critical — without it, your WhatsApp API won't be approved.
- Go to business.facebook.com and create or log into your Meta Business Manager
- Navigate to Business Settings → Business Info
- Submit your business verification documents (GST certificate, business PAN, or incorporation certificate for Indian businesses)
- Wait for approval — typically 1-3 business days
Once verified, your account gets higher messaging limits and unlocks the ability to initiate conversations with customers (not just reply to them).
Step 3: Connect WhatsApp to Your Shopify Store
If you're using a BSP like Retner, this step is straightforward:
- Install the Retner app from the Shopify App Store
- Log into your Retner dashboard and navigate to Integrations → Shopify
- Authorize the connection — Retner will request access to your orders, customers, and abandoned checkouts
- Map your store's events to WhatsApp triggers (more on this in Step 5)
The integration pulls real-time data from your Shopify store: new orders, order status changes, abandoned carts, customer profiles, and product catalog.
What data gets connected:
- Customer phone numbers (from checkout)
- Order details (product, quantity, price, order ID)
- Delivery/shipping status (via your logistics partner)
- Abandoned checkout data (products left in cart, time of abandonment)
- Customer purchase history (for segmentation and repeat purchase flows)
Step 4: Create and Submit Message Templates
Every WhatsApp message your store sends proactively (outside of a customer replying to you first) must use a Meta-approved template.
Templates are pre-written message formats with variable placeholders. Example:
"Hi {{1}}, your order #{{2}} has been shipped! Track it here: {{3}}"
Here {{1}} = customer name, {{2}} = order number, {{3}} = tracking link.
Templates you should create for your Shopify store:
| Template Name Use Case Example | ||
| Order Confirmation | Immediately after purchase | "Your order #1234 is confirmed! Expected delivery: 3-5 days." |
| Abandoned Cart | 1 hour after cart abandonment | "Hey [Name], you left something behind. Your cart is saved →" |
| Shipping Update | When order ships | "Great news! Your order is on its way. Track here →" |
| Out for Delivery | Day of delivery | "Your order arrives today! Someone home to receive it?" |
| COD Verification | After COD order placed | "Hi [Name], please confirm your COD order of ₹[amount]. Reply YES to confirm." |
| Review Request | 3-5 days post delivery | "How's your [product]? We'd love your feedback →" |
| Refill Reminder | Based on consumption cycle | "Running low on [product]? Restock before you miss a day →" |
| Win-Back | 45+ days since last order | "We miss you! Here's 10% off your next order →" |
Template approval timeline: Typically 24-48 hours. Submit all templates at once to avoid delays in your go-live.
Step 5: Build Your Automation Flows
This is where the magic happens. An automation flow is a triggered sequence of messages based on a specific customer action or event.
Here are the 6 essential flows every Shopify store should build:
Flow 1: Order Confirmation + Onboarding
Trigger: New order placed (any payment method)
Sequence:
- Immediately: Order confirmed message with order ID and estimated delivery date
- After delivery confirmed: "Your order has arrived! Here's how to get the most out of [product]" — include usage tips or care instructions
- Day 3 post-delivery: Check-in message — "How are you finding [product]? Any questions?"
Why it works: Sets expectations, reduces support tickets ("where is my order?"), and starts the relationship before the customer even opens the package.
Flow 2: Abandoned Cart Recovery
Trigger: Customer adds to cart and doesn't complete checkout within 60 minutes
Sequence:
- 60 minutes after abandonment: Friendly reminder — "Hey [Name], you left [product] in your cart. Still interested?"
- 24 hours later (if no purchase): Add urgency or social proof — "12 people bought this today. Your cart is still saved →"
- 48 hours later (if still no purchase): Final nudge with a small incentive — "Here's 5% off if you complete your order in the next 2 hours."
Key rule: Stop the sequence the moment they purchase. Nothing is more annoying than getting a "you left this behind" message after you've already bought it.
Benchmark: Well-configured WhatsApp cart recovery flows convert 20-35% of abandoned carts — significantly higher than email.
Flow 3: COD Order Verification
Trigger: COD order placed
Sequence:
- Within 5 minutes: "Hi [Name], we received your COD order for ₹[amount]. Can you confirm this is correct? Reply YES to confirm or NO to cancel."
- If YES: "Great! Your order is confirmed and will be dispatched soon."
- If NO or no reply within 2 hours: Flag for manual review or auto-cancel based on your preference
- Optional upsell: "Want to switch to prepaid and get free express delivery? Pay now →"
Why this matters for Indian D2C: COD orders without verification have significantly higher RTO rates. A simple confirmation message can reduce fake/accidental orders by 30-50%.
Flow 4: Shipping & Delivery Updates
Trigger: Order status changes in your logistics system
Sequence:
- Order dispatched: "Your order #[ID] is on its way! Track it here: [link]"
- Out for delivery: "Delivery today between 10am-6pm. Someone home to receive it?"
- Delivered: "Your order has been delivered! Enjoy 😊 Any issues? Reply here."
- Delivery failed: "We tried to deliver your order today but couldn't reach you. Here's how to reschedule →"
Integration note: This flow requires connecting your logistics partner (Shiprocket, Delhivery, Shipway, etc.) to your WhatsApp platform. Most BSPs support these integrations natively.
Flow 5: Post-Purchase Review + Upsell
Trigger: 4-5 days after confirmed delivery
Sequence:
- Day 4: "Hi [Name], how's your [product]? Drop a quick review — it helps other customers like you →" [Review link]
- Day 7 (if no review): "Still loving [product]? Here's something that pairs well with it →" [Complementary product]
- Day 14: Educational or value message related to the product category
Why it works: Review requests at Day 4-5 catch customers when the product experience is fresh. The complementary product suggestion at Day 7 is your upsell moment — embedded naturally in a helpful message, not a pushy sales pitch.
Flow 6: Repeat Purchase / Refill Reminder
Trigger: X days after last order (based on product consumption cycle)
Sequence:
- 3-5 days before expected run-out: "Hey [Name], your [product] is probably running low. Ready to restock? →"
- On expected run-out date (if no reorder): "Don't break your streak! Reorder [product] before you run out →"
- 5 days after run-out (if still no reorder): Win-back message with a small loyalty discount
How to calculate the trigger date: If a customer bought a 30-serving protein tub and typically uses 1 serving per day, set the first reminder at Day 25. If they bought a 60-capsule bottle at 2 per day, set it at Day 25 as well.
You can also ask customers their usage frequency during onboarding to personalize the trigger date.
Step 6: Set Up Segmentation
Don't send the same message to every customer. Use the data your Shopify store already has to send relevant, personalized messages.
Basic segments to start with:
- First-time buyers vs repeat buyers — different tone, different offers
- COD customers vs prepaid customers — COD customers need more trust-building
- High-AOV customers vs low-AOV customers — different upsell thresholds
- By product category — customers who bought supplements vs apparel vs accessories need different content
- By location — metro customers vs tier 2/3 customers often have different expectations and price sensitivity
Most WhatsApp automation platforms let you create segments based on Shopify tags, purchase history, and customer properties.
Step 7: Go Live and Monitor
Before going fully live, test every flow end-to-end:
- Place a test order on your store
- Verify that each trigger fires at the right time
- Check that variable placeholders (name, order ID, product name) populate correctly
- Test on both Android and iPhone (WhatsApp rendering differs slightly)
- Verify opt-out works — a customer replying "STOP" should immediately remove them from all flows
Key metrics to track from Day 1:
- Message delivery rate — should be 95%+
- Open rate — WhatsApp typically shows 70-85% for transactional messages
- Reply rate — indicator of message relevance and engagement
- Conversion rate per flow — especially for cart recovery and refill reminders
- Opt-out rate — if this spikes, you're messaging too frequently or irrelevantly
- WhatsApp quality score — visible in your Meta Business Manager; keep it green
Common Mistakes to Avoid
Sending too many messages too quickly Customers who feel spammed will block your number. A blocked number damages your WhatsApp quality score, which can limit your messaging capabilities. Start with 2-3 flows and expand gradually.
Not getting customer opt-in WhatsApp's policy requires explicit opt-in before sending marketing messages. Collect this at checkout ("Get order updates and offers on WhatsApp") or via a sign-up form. Pre-checked boxes don't count as consent.
Using the wrong number Once you register a number for WhatsApp Business API, you can't use it as a regular WhatsApp number. Use a dedicated business number.
Ignoring reply management Automation handles outbound messages, but when a customer replies with a question or complaint, someone needs to respond. Set up a shared inbox so your team can see and reply to all incoming WhatsApp messages in one place.
Not mapping the consumption cycle correctly Sending a refill reminder too early (Day 10 for a 30-day product) feels pushy. Sending it too late (Day 35) means the customer has already run out and possibly bought from a competitor. Map your SKU cycles carefully.
How Long Does Setup Take?
| Step Estimated Time | |
| Meta Business Manager verification | 1-3 days |
| WhatsApp API approval | 1-2 days |
| Shopify app installation + integration | 2-4 hours |
| Template creation + submission | 1-2 days for approval |
| Flow building and testing | 1-2 days |
| Total time to go live | 5-10 business days |
With a BSP like Retner, the entire process is guided — you won't have to figure out Meta's approval process or API documentation on your own.
Final Thought
Setting up WhatsApp automation for your Shopify store is a one-time investment that pays back continuously. Once your flows are live, every new customer automatically enters a journey that increases the probability of a second purchase, a positive review, and a long-term relationship with your brand.
The brands winning in D2C today aren't just acquiring customers — they're building systems that retain them. WhatsApp automation is the most cost-effective retention system available to Shopify brands right now.
Start with the 6 flows above. Measure for 30 days. Then optimize.
Ready to connect WhatsApp to your Shopify store? Retner's integration takes less than 10 minutes to install. Book a free demo →
8x Return On WhatsApp Ads Spend.
Book a demo and we will get you started on proven WhatsApp marketing strategies